Choose the color for the inside of your bag and overlap strips right onto your work surface the width and length of your books. (This will be the bottom of your bag.)

Once you have a solid piece the size you would like the bottom. You will do the same thing with the color you have chosen to be the outside.

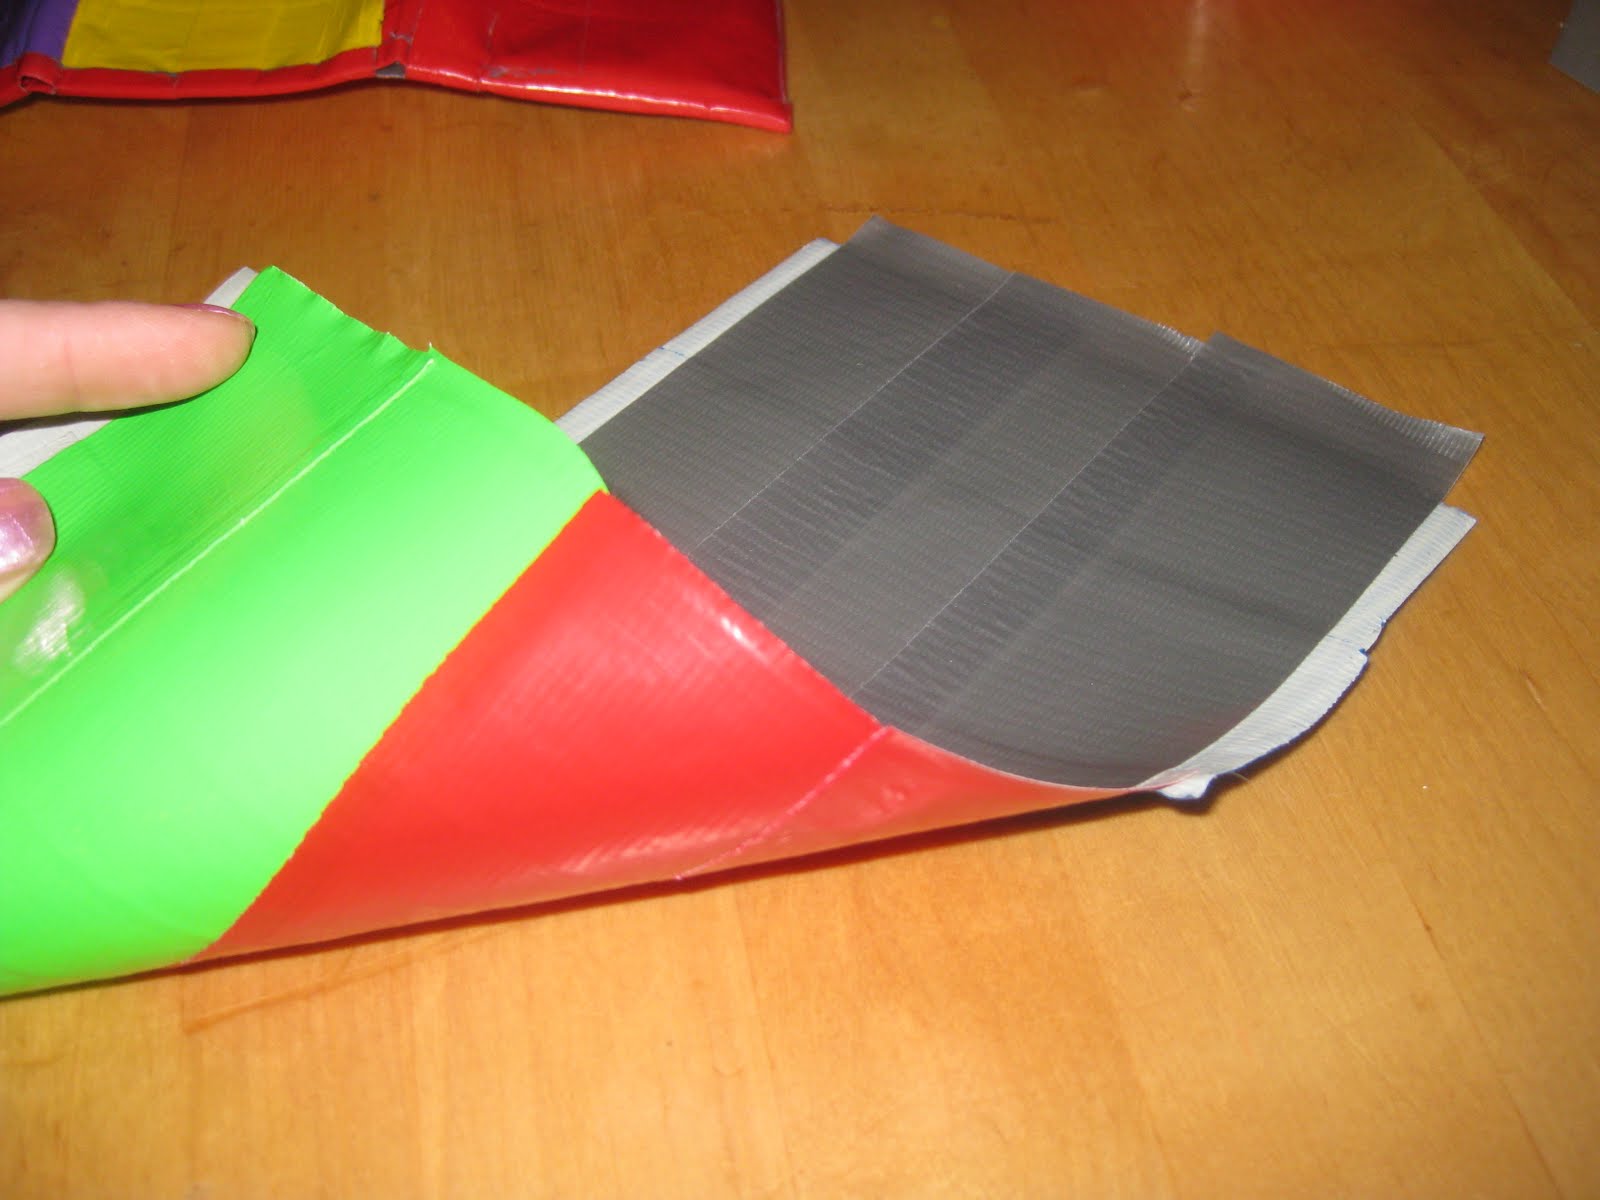
Carefully peel up the outside layer and lay it on the table with the sticky side up.

Next, gently peel up the inside panel. Hold each side so the sheet of tape curves like a swing.

Starting in the center begin rolling/laying them with sticky sides together. Continue slowly until they are stuck flat. Take it slowly and accept the landing point as good enough because once they have touched they are very difficult to get apart. You can trim later to make it straight. By starting in the center, you have less risk of bubbles developing between the layers.

You will do this five times according to your measurements. One for the bottom, and one for each of the four sides. The front will be the same size as the back and the two sides will be the same size.

Lay them all out as shown above.
Keeping your pieces flat you will now tape each side to the bottom edge.

Next, bring side edges together and tape going up the outside edge. You will be forming a box. After securing each corner edge on the outside, carefully do the same on the inside. This will seal the sides/corners so there won't be any sticky spots.

Be as accurate as you can but accept that you are working with duct tape and know that it is very difficult to get perfectly flat.
Just do your best and have fun with it.
Using scissors cut the top evenly across all sides and carefully add your border color to the top.


Now,

handles. Cut tape to desired length and fold down one side lengthwise. Sticking together from the center out. Then fold up the other edge over the first. It will not be perfectly flat, but that's fine because they will go on the bag in a curve anyway.

Secure each handle on the inside of the bag with duct tape.
With handles firmly in place your bag should resemble something you would happily carry to church with scriptures, highlighters and possibly breathmints in tow.

Or make it a different size to carry whatever you wish... wherever you go.
Following are directions in case you would like to have the checkerboard look that you see in many of our pictures. Fashionista loves checkerboards and stripes!

Make a sheet of duct tape on your work surface without any overlapping pieces.

You can see that they are exactly next to each other without overlapping.
Peel up the edge of every other strip and lay another color along this edge.

Continue this process with every other strip until the panel is a complete checkerboard.

Lift one corner and carefully peel the panel off the table.


Lay the panel together with an inside layer and follow previous instructions for completing your bag.

If you want a lid, you will need to put you handle from side to side and make one more panel large enough to connect to the back and overlap onto the front. Add velcro if you like.
 This one is miniature for coins etc. but the lid can work on any size bag.
Try this project with your family,

You'll end up with a cool bag, but even better... You can have a lot of fun with one of the greatest and most dependable products available!
DUCT TAPE
 AND Number 2. It's all about Super Powers. ~Which one would you choose? Flying, Mind Reading, Super Speed, Time Travel, Elastic Body????